A tree plantation drive is one of the most practical ways students can create real environmental impact. The key is to plan beyond “planting day” and focus on survival, maintenance, and measurable outcomes.
What You Need Before You Start
- A core team: 10–20 volunteers, plus 1–2 teacher/faculty coordinators
- A clear goal: number of saplings, location, and timeline for maintenance
- A budget: saplings, compost, tools, watering plan, and protection (tree guards if needed)
- Partners: local nursery, NGO, forest department, municipality, or campus administration
Step-by-Step: How to Run a Successful Plantation Drive
Step 1: Choose the Right Site
- Prioritize areas with access to water and long-term protection (campus corners, boundaries, parks).
- Avoid planting on temporary or construction-prone land.
- Check soil condition and sunlight availability.
Step 2: Get Permissions (Important)
- School/College approval: principal, dean, or campus administrator
- Local authority approval: municipality/forest department if planting outside campus
- Written confirmation: date, site boundaries, and water/maintenance responsibility
Step 3: Select the Right Trees (Native First)
Selecting the right saplings improves survival rate and biodiversity value. Prefer native species suitable to your region’s climate and soil.
- Choose native and drought-tolerant species where possible.
- Avoid invasive species or trees unsuitable for local ecology.
- Mix species instead of planting a single type (supports biodiversity).
Step 4: Arrange Materials and Logistics
- Saplings (healthy, disease-free, appropriate height)
- Compost / organic manure
- Tools (spades, gloves, buckets, rope for marking)
- Tree guards or fencing (optional but useful in public areas)
- Watering cans / hose access
Step 5: Prepare the Site Before Planting Day
- Mark planting spots with correct spacing.
- Dig pits in advance (recommended).
- Keep compost ready and ensure water access.
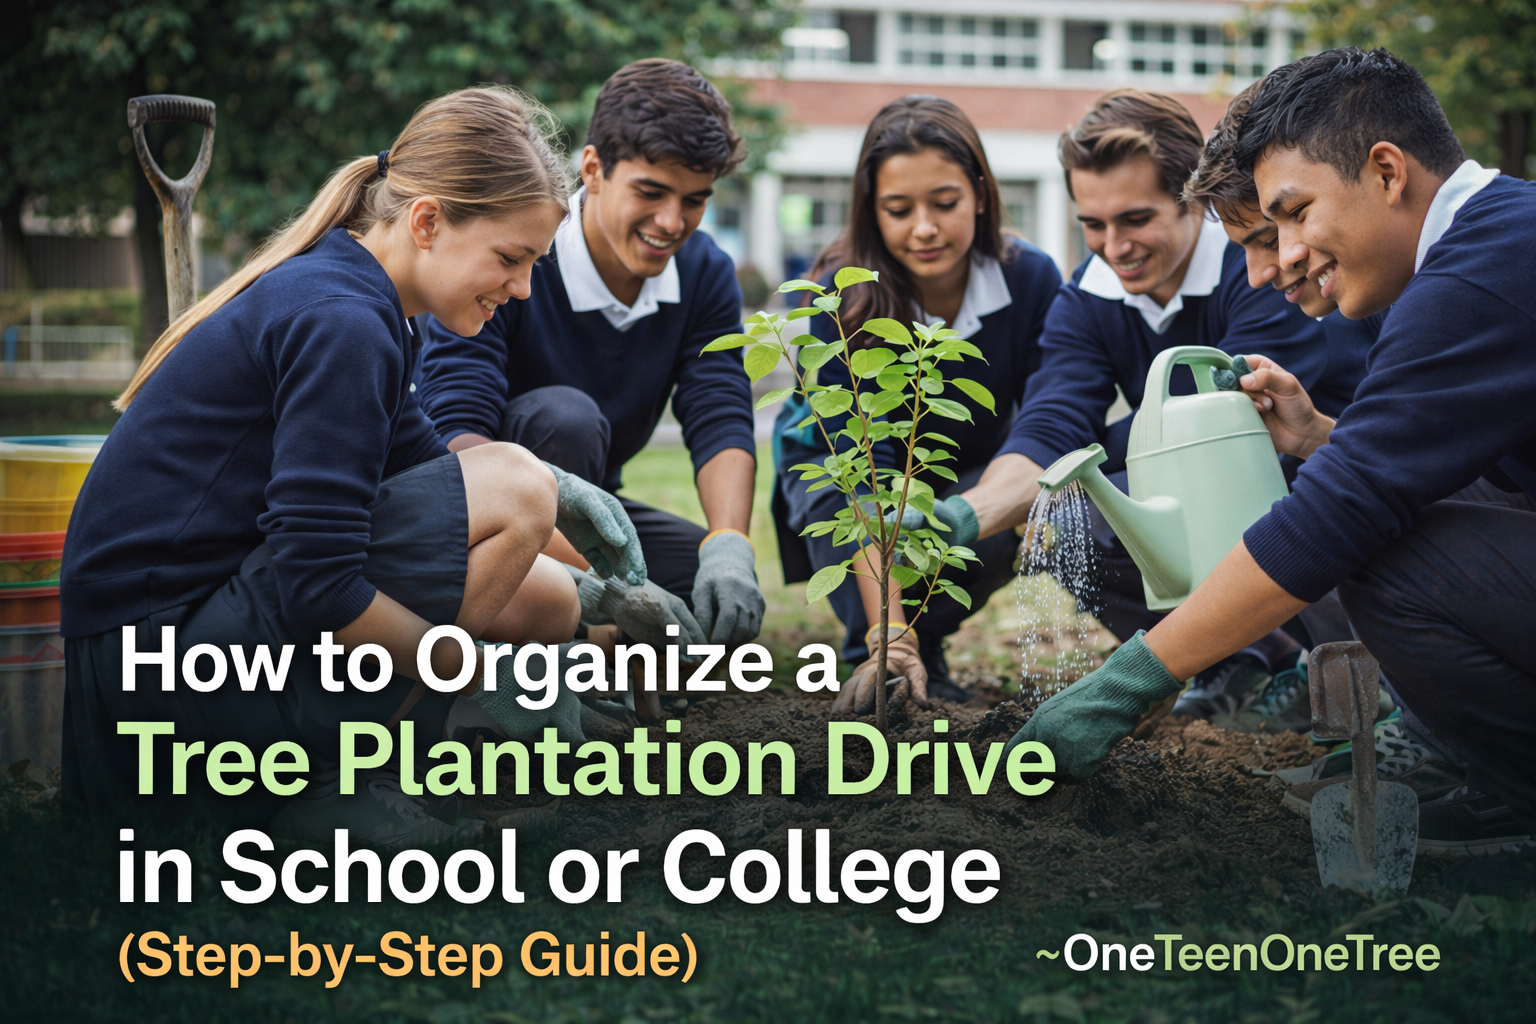
Step 6: Plant Correctly (Planting Day Execution)
- Place sapling upright in the pit (do not bend roots).
- Add soil + compost mix and press gently to remove air gaps.
- Water immediately after planting.
- Add mulch (dry leaves/organic cover) to reduce evaporation.
- Label the sapling (optional) with species and plantation date.
Step 7: Plan Aftercare (This Decides Success)
Most plantation drives fail because maintenance is ignored. Create a simple 8–12 week care plan.
- Assign a watering schedule (daily in early weeks, then as per climate).
- Monitor for pests/damage and replace weak saplings quickly.
- Use tree guards where grazing or vandalism is possible.
- Maintain a log: planted, surviving, replaced, and growth notes.
Plantation Day Checklist (Quick)
- Permissions confirmed
- Saplings delivered and shaded
- Tools, compost, water arranged
- Team roles assigned (planting, watering, documentation, cleanup)
- First watering done and pits covered properly
- Photos taken for records and reporting
How to Track Impact (Simple and Powerful)
Tracking increases credibility for schools, colleges, and CSR partners. At minimum, record:
- Total saplings planted
- Species list
- Exact site/location
- Survival rate after 30, 60, and 90 days
- Maintenance responsibility and schedule
Common Mistakes to Avoid
- Planting without a maintenance plan
- Choosing non-native or unsuitable species
- Planting in dry areas without water access
- Overcrowding saplings (poor spacing)
- Not protecting saplings in public locations
How OneTeenOneTree Can Support Your Plantation Drive
OneTeenOneTree supports schools and colleges with structured plantation planning, species selection guidance, volunteer mobilization, and impact tracking frameworks—so your plantation drive creates lasting outcomes.
- Plantation planning and execution support
- Native species guidance and sourcing support
- Youth engagement and awareness activities
- Impact reporting structure for institutions and partners